
The “User profile” page allows viewing and managing the information of the users registered under your customer account.
The page can be accessed from the “Manage users” page upon clicking on the “Update” button with the pencil icon at the beginning of the relevant table line of the corresponding user.
Information
The “Information” tab enables you to view and edit the contact, personal, and other user account details. For more information, see Profile | Information.
Role administration
The “Role administration” tab allows you to reassign roles to the selected user.
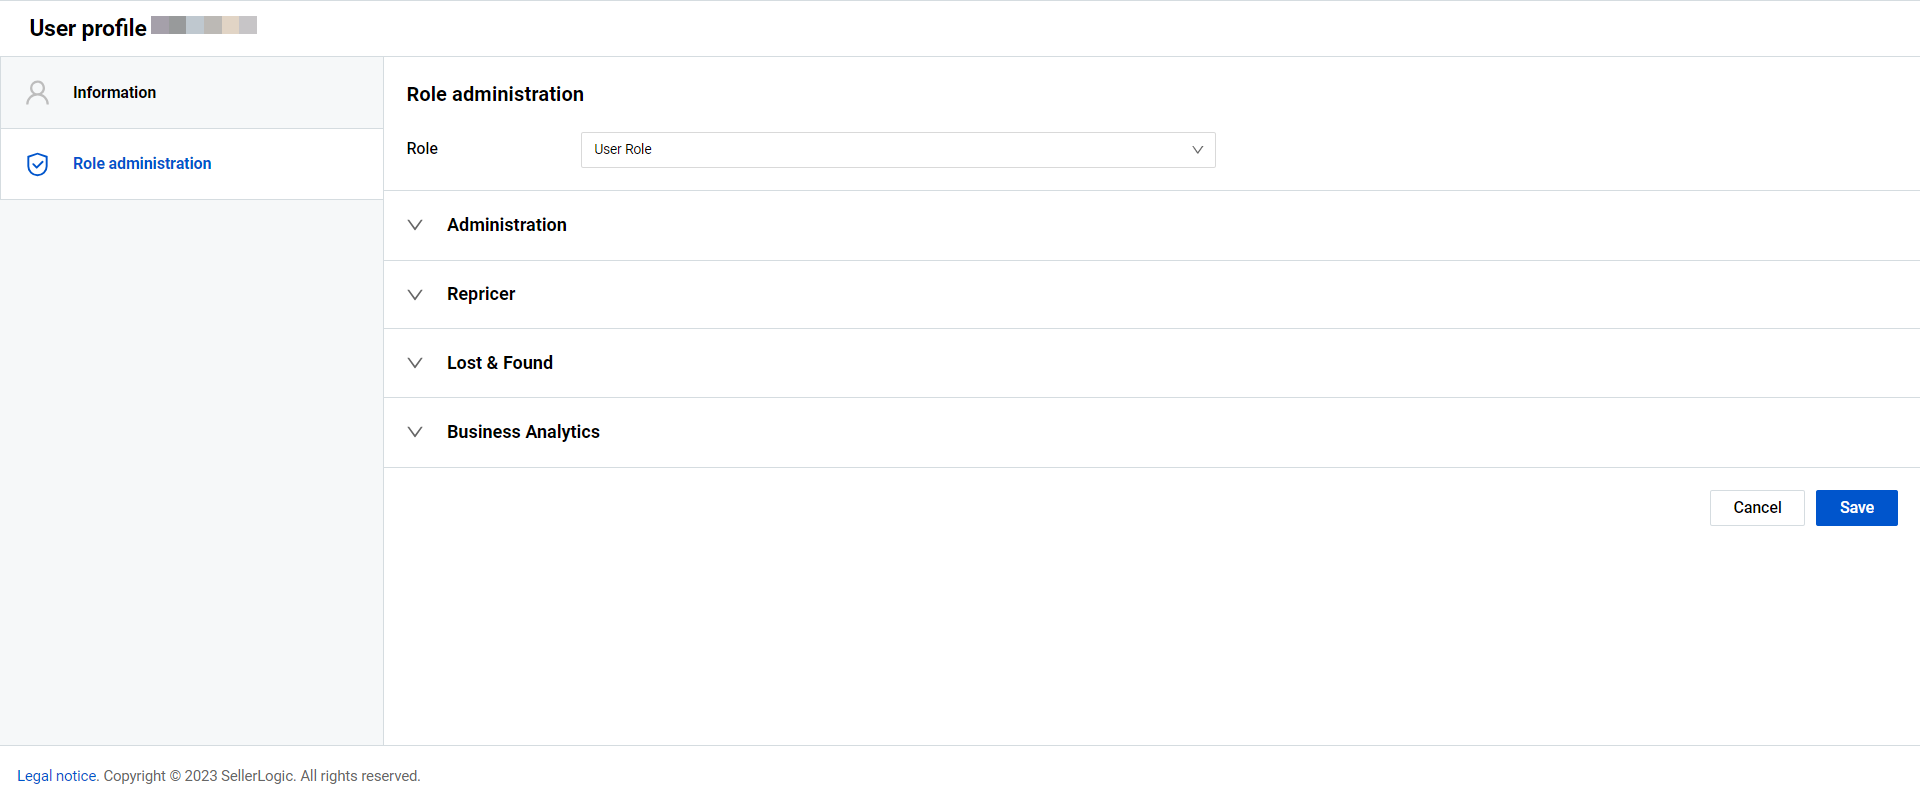
Assign new role
To assign a new role to the user, select it from the “Role” dropdown menu and click “Save”. You can select from among two default roles or create a custom role:
- “Customer admin" possesses all permissions by default that cannot be modified. This role is automatically assigned to the initial user of the customer account. Note: The last user with the “Customer admin" cannot be deleted from the account;
- “Customer user” includes primarily assigned basic permissions and cannot be edited;
- “Custom User” is a customized role with a unique set of permissions assigned to each user. Note: All permissions must be individually assigned for each "Custom User".
Note: All new users who completed the registration process but without an assigned role, will see one "Welcome to SELLERLOGIC” notification page with only the ”User profile” page accessible. All other pages and functionalities will be hidden. The login via social media and password restoration are also restricted.
Assign a custom user role
The Custom user role allows you to define a unique set of permissions tailored to individual user needs. This feature is useful when the predefined roles do not meet specific access or control requirements within your organization.
To assign a custom role to a user:
- Locate the desired user in the "Manage users” table.
- Click the “Update” button (pencil icon) next to the user.
- Open the "Role administration” tab.
- In the “Role” dropdown menu, select “Custom User”. All permission categories will become editable.
- Check the boxes next to the permissions you want to grant to this user. For more information, see General | Manage user permissions.
- Click "Save” to apply the changes. Once saved, the user will have access only to the areas and actions you explicitly allowed.
Note: The “Custom User” role is only available if you have an active Repricer subscription with either the Trial or Advanced plan. If this requirement is not met, the “Custom User” option will be disabled in the dropdown menu with a corresponding tooltip on hover.